I’m shocked you came back, after the other days quasi chemistry class. Well thanks for showing your support.
All right so where were we? Something about bagels in a basic (meaning, not acidic) environment? Some randomo named Senor Maillard…it’s all a little fuzzy, but fear not, I didn’t tell you this the other day, but you can totally have not read the last post, and you’ll still be able to make bagels that are pretty freaking awesome.
So enough chit chat, and let’s get down to business.
Bagel making business.
It’s a serious business.
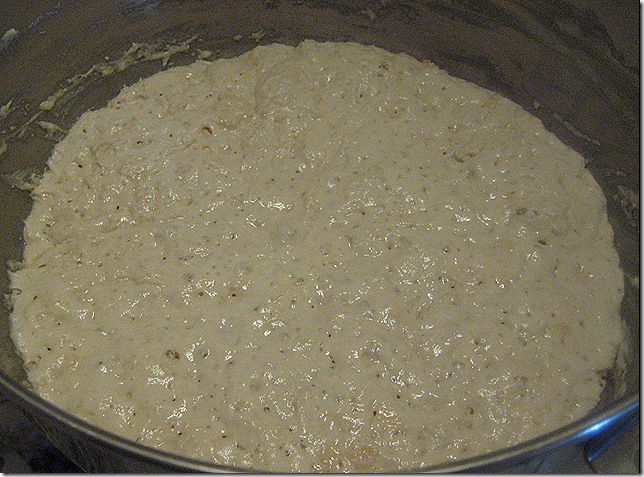
This recipe is from a guy named Bruce Ezzel who did a guest blog on Michael Ruhlman’s website. So first thing is to make what’s called a sponge. A sponge is pretty much a way of combining flour and water, and letting the yeast get comfortable in it’s surrounding, which will mainly produce the carbon dioxide bubbles that we need to give our bagels the lift we desire, but it will also add a nice amount of flavor as well.
For the sponge, the recipe calls for it to be at a 100% hydration. I’m no expert in bread making, but you know how some doughs are stickier than other doughs (think ciabatta vs say a rye bread), well that has to do with the ratio of flour to water. Bakers always use the amount of flour as 100%, and depending on how much water is in it, that’s your hydration level. So lets say a dough has 100g of flour, then if it had 100g of water, it would be at 100% hydration, if it had 75g of water it would be at 75%, and so on. Without getting too into what the difference in different hydration levels are (partly because like I said earlier: “I’m no expert…”), a higher hydration level means a very sticky dough, and a lighter final product, whereas a lower hydration level, would be a very firm dough, with a denser bread (there are other factors that make a bread more or less dense, but we’re not gonna get into them now, ok? So stop bugging me man…gee-whiz).
So for the sponge, we’re going to start with a 100% hydration sponge, which like I said, is just equal weights flour and water, and some yeast, and let that sit anywhere from 4 hours to overnight.
By the way, the reason it’s called a sponge, is because it well looks like a sponge, smart right?
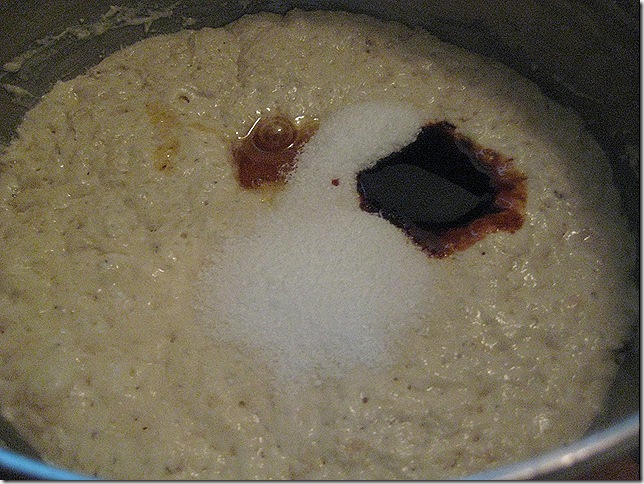
Once you’re ready to start, add the salt, honey, the molasses, and flour (in that order). The original recipe calls for malt syrup, but guess what? I just finished my malt syrup…I went on a malt syrup hanger the night before, it was crazy. That’s a lie, I just plain old don’t have malt syrup, and the recipe was kind enough to supply us normalites with a substitute, ie molasses, which at least if you don’t have, is easier to get.
By the way in case you’re wondering, the additional flour (all measurements are below) brings the total amount of flour to 946 grams (yes, I used a scale), so ratio of water to flour is 500/946, which is 52.8% hydration. Obviously a few grams more or less is ok, but as per the recipe, we are trying to keep it in between 52-53% being that bagels are normally a denser bread.
If you remember the last post, where we discussed baking the baking powder to get rid of that pesky stupid extra “H” from the NaHCO3 (baking soda), then you’re going to want to do that now. Measure out the baking soda, so you know exactly how much you’re putting in to your water. However, if you want to skip that step that’s fine, just use regular baking soda, but you won’t get as dark a bagel.
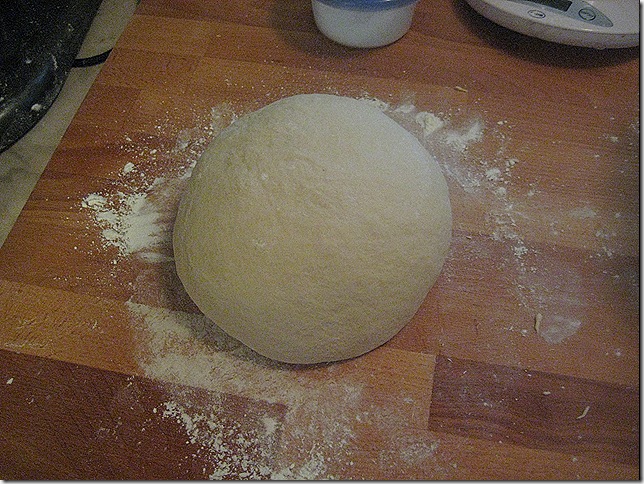
I then slapped on my trusty dough hook, and kneaded on low for about 8 minutes, and when done, let it rest on the counter for about 10 minutes. It’s a very thick dough, and the mixer might run off on its own if you don’t keep an eye on it.
There is good reason to let the dough rest. Basically by kneading the dough, you’re taking the gluten proteins, and aligning them up to form the mesh we need to hold the carbon dioxide bubbles, and to form the structure of the dough. As you knead, you constantly stretch and pull all those molecules and tangle them up, so the resting period basically allows the gluten to relax, and settle to their comfortable position. That’s also why if you’re rolling out a dough for whatever, and it keeps on springing back, let it rest for a few more minutes, and that should do the trick.
While this is resting, bring a pot of water to a simmer, and you’re going to want to measure the water, so you know exactly how much (baked) baking soda to put in.
Divide the dough into 12ish pieces. It would probably have been a smart idea to weigh the pieces, so they would be more even, but I didn’t, so there. Take each piece, and round it into a little ball.
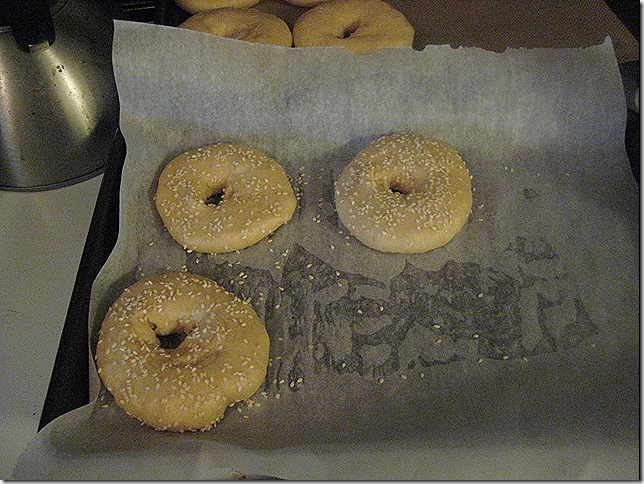
To make the bagels, flatten the little ballies, into a disk, and poke a little hole through it with your thumb, and cover them to allow them to rise.
After about 10 minutes, flip each bagel, and allow the other side to rise also, until it puffs up.
When you’re ready to start baking them add the baking soda, and drop 3-4 bagels in at a time, and let it simmer for about 1 minute on each side, flipping after a minute. Fyi – to flip them easily, use a chopstick.
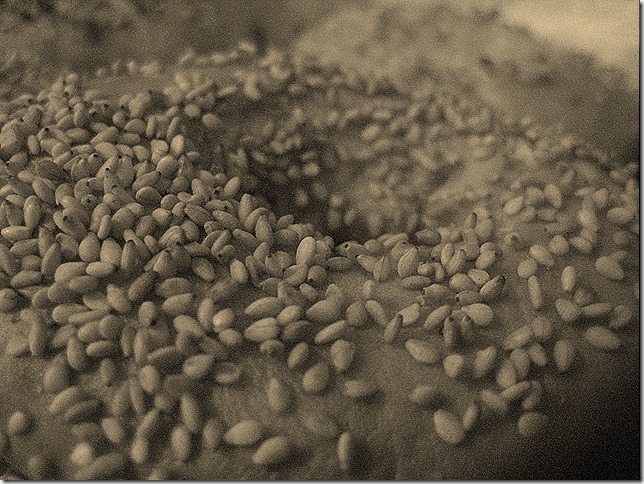
Put the bagels on your baking sheet, and top with whatever you want. I went with some sesame, onion, everything, and some plain.
Bake them at 450 degrees for 13-15 minutes, or until nice and browned. My bagels, actually took longer than that, and it’s because I’m kind of an idiot. You see I really like this trick where I throw ice cubes on the floor of the oven, which generates a lot of steam, and allows the bagels to get this really nice crust (like I did when we made ciabatta). Either way, I kept on throwing ice on the floor, and eventually some spilled over onto where the actual oven flames are, and pretty much turned off my oven for a little. So that was fun, but luckily it wasn’t a disaster after all that hard work.
I have now realized, it’s probably not that important to have the ice on the floor of the oven for bagels, because the whole reason I do it, is to pretty much coat the bread with steam which allows the dough to continue rising without forming the crust too early on in the baking process, and it also will eventually form a nice crust when all the water evaporates. However now that I think about it, the bagels are already covered in water, which allows them to rise, while the water evaporates…whatever, you live and make mistakes right?
The bagels came out awesome, I just had to bake them a little longer than 15 minutes.
You enjoy it. (anyone who gets that still reading?)
Bagels
from Michael Ruhlman
In case you didn’t realize, I measured out all the ingredients, and it really makes a difference, with all baked goods.
Ingredients:
Sponge:
- 500 grams flour (~3.5 cups)
- 500 grams water (~2 1/4 cups)
- 3 grams yeast (3/4 teaspoon)
Bagels:
- 18 grams salt (1 tablespoon)
- 18 grams honey (~1T)
- 18 grams molasses (~1T)…if you have malt syrup, that’s what the original recipe called for
- 446 grams flour (~3cups)
- Baking soda – 1/2 Tablespoon for every 8 cups of water you use
- Toppings of your choice (sesame seeds, poppy seeds, dried onion, a shoe, whatever you want)
Directions:
- Make the sponge. Combine flour, water, and yeast, mix with a spoon until combined, cover and set aside (not in the fridge, unless you’re setting it aside for a while) for at least 4 hours, and up to overnight.
- (If you want to bake the baking soda, measure out a little more than a 1/2 tablespoon on a baking sheet, and bake at 250 for about an hour)
- Add the salt, honey, molasses, and flour, in a bowl of a mixer, and knead on low for 8-10 minutes.
- Remove the dough to your counter and cover and let it rest for 10 minutes.
- Preheat the oven to 450
- Bring 8 cups of water to a simmer
- Divide the dough into 12ish pieces, and form each piece into a ball.
- To shape the bagels, flatten the ball to about 3.5 inches wide, and poke a hole in the middle with your thumb, and set aside covered to rise.
- After 10 minutes, flip each one, to allow the other side to rise also
- When the other side is puffed up, it’s ready to boil
- Add the baking soda to the already simmering water, mix, and add bagels 3 at a time (to not crowd the pan)
- Boil each side for a minute, flipping halfway through (I used a chopstick, which made it easier to flip), and when done put on your baking sheet
- When all the bagels are done boiling, add your toppings, and bake for about 15 minutes, or until nice and browned.
- Let it rest for 15 minutes, and go get yourself some shmear, and devour it




I must say, I was rolling my eyes at this endeavor thinking that there is no was way you could make a bagel that looks or tastes like a bagelman bagel (much like the silly bakers out there who bake brownies that will never be better than a Duncan Hineser), but I must say from your enthusiasm and the fact that they actually look great, that my disbelief may have been premature! Bring it on new bagelman.
LikeLike
You were rolling your eyes at this?! What a friend! Next time I’ll just have to send you some to dispel your nay-saying ways
LikeLike
These bagels were delicious! Warm fresh with some cream cheese – What can be better?
LikeLike
Thanks z
LikeLike
What did you do with the excess dough from the bagel holes? 🙂
LikeLike
I didn’t punch out a piece of dough, I just made a hole by poking my thumb through, so there was no “excess” dough
LikeLike
Oy. You need to catch up on your Chelm jokes.
LikeLike
you’ll have to help me out on this one
LikeLike
These bagels looks so well baked! Thank you for the step by step instructions.
LikeLike
Thanks!
LikeLike